Breaking the Mold: Kitbashing Tips and Tricks

In this guide I provide a step-by-step overview of my kitbashing process, the tools I use and demonstrate simple yet fundamental techniques for upscaling, pinning parts, and fusing them together so you can create your own custom miniatures.

Breaking the Mold: Kitbashing Tips and Tricks

Introduction

In this first entry of my new kitbashing tutorial series, I will walk you through my simple yet effective process for creating custom miniatures. To keep it digestible, I will not cover the sourcing of bits and parts in this guide, which will be the topic of a future post. Rather, my aim is to demonstrate the various methods and tools that I use, to help you understand the fundamentals so you can adapt these techniques to your own projects and resources.

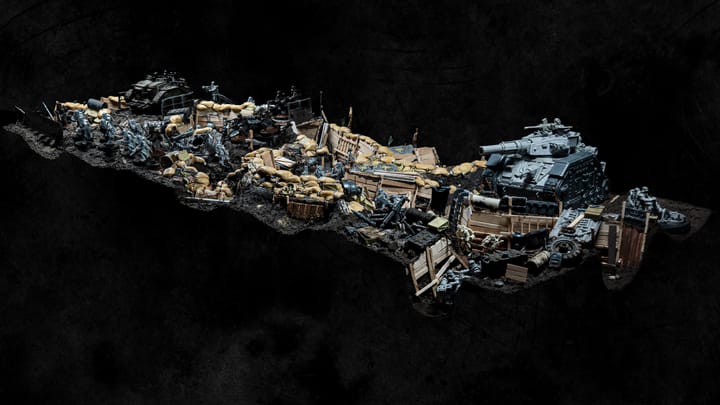
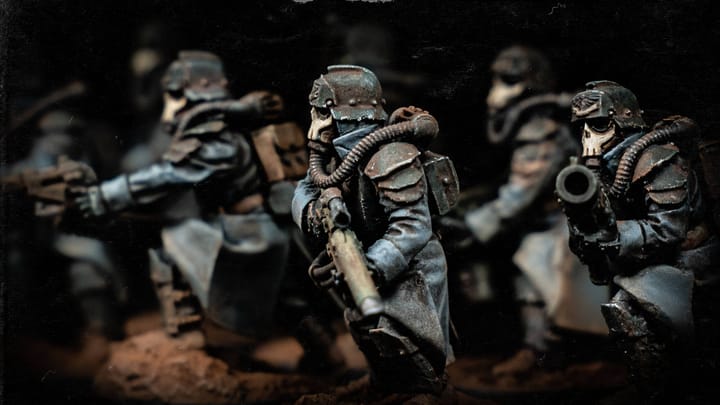
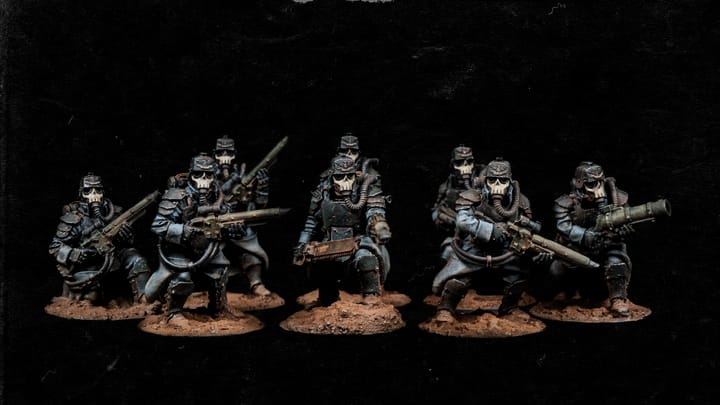
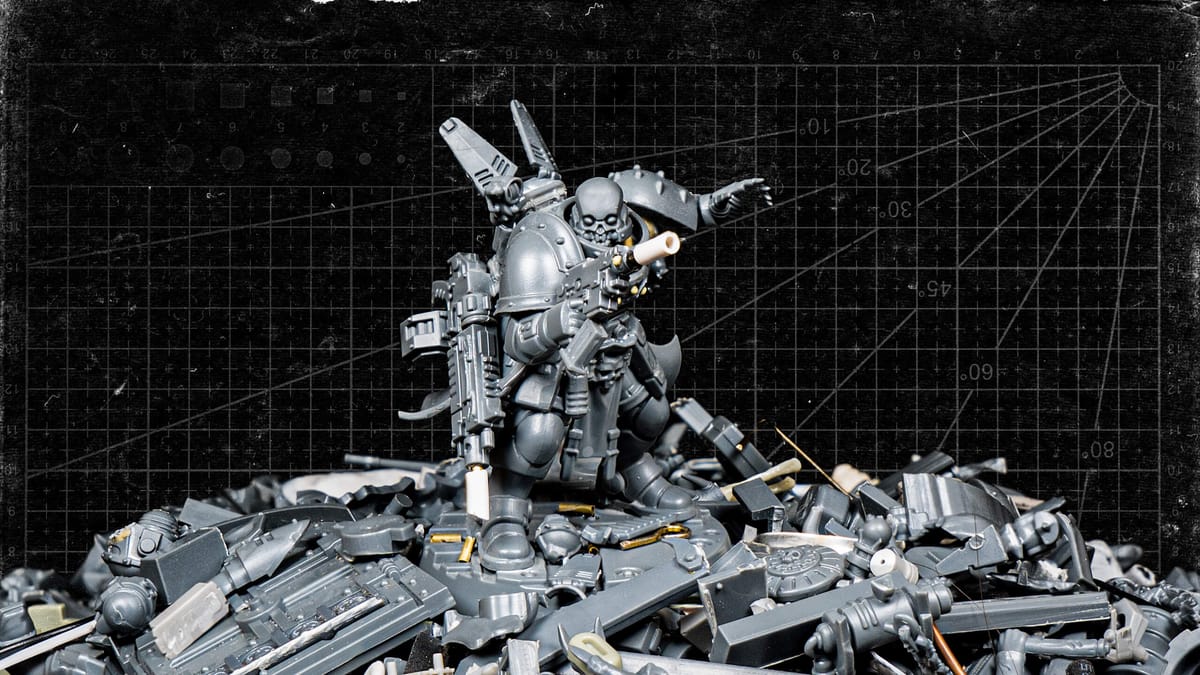
This guide is primarily aimed at beginners who want to learn about kitbashing and how to create unique miniatures like the one showcased below. We will cover various tips and tricks to help you move beyond the restrictions of assembly manuals. These include upscaling and pinning plastic parts, using putty for sculpting and gap-filling purposes, as well as customizing components to enhance the overall appearance of your models.

Tools and materials

I will specify the tools and products I'm using in each step. If you have prior experience in assembling miniatures, you probably already have the necessary equipment. However, if you're new to this hobby, I strongly recommend that you check out my guide to kitbashing essentials first, which contains a list of recommended equipment and materials worth considering for building and customizing models. That said, for this project we will need:

  • Reusable putty
  • Hobby knife
  • Razor saw (optional)
  • Precision nippers
  • Pin vise and HSS drill bits
  • Plastic cement
  • Super-glue
  • Copper wire
  • Epoxy putty
  • Sculpting tool
Tools of the Trade: Kitbashing Essentials
Looking to get started with kitbashing? Choosing the right tools can be a real head-scratcher. Fortunately this guide is here to help you get the hang of it, whether you’re new to this or just on the look-out for equipment recommendations.

Body upscale

Following a stage of test-fitting and experimentation with reusable putty to determine which parts would fit together, I proceeded with the assembly of the main body components. I used a hobby knife to remove the symbol from the face of the armour. I then glued on the front with a back piece featuring a cape using plastic cement. Finally, using my razor saw, I trimmed the redundant back section attached, leaving only the crotch.

Support wire

The next step was to widen the space between the torso and the crotch. To do this, I used a pin vise to drill a hole in the lower cavity of the torso and a corresponding hole in the crotch piece. I ensured that both holes were centered in order to allow for proper alignment of a support wire. I then cut and inserted a piece of copper wire of 0.3 mm in diameter into the upper body section. Lastly, I secured the wire in place using a drop of super-glue.

For better control and accuracy, I used a toothpick to guide the glue into the hole. Once the glue had dried, I used nippers to cut off the excess wire to the desired height (approximately 0.5 mm) and kept the rest for future use. This pinning method is an excellent way to improve the structure of a model, providing flexibility to adjust the posture and make characters look more dynamic. This also frees up space to add details.

Gap-filling

At this point, I took the time to ensure that both parts were correctly aligned by carrying out a test-fit. As I was satisfied with the alignment, I proceeded to fill the empty space between both parts using a sculpting tool and epoxy putty. The main objective was to create a seamless bond between the two components. However, it's pointless to spend too much time on this given that most of the sculpt job will be concealed behind details later.

I ultimately passed the wire through the crotch and pressed it onto the putty while it was still workable to connect it with the torso. Then, I used a sharp blade to get rid of any excess putty and the same sculpting tool with water to smoothen the area. This central axis will allow me to fine-tune the legs orientation and make minor adjustments to the body inclination in the next step to achieve the pose I had envisioned for this character.

Legs adjustments

Finishing the body assembly, I glued the legs using plastic cement. I then adjusted the orientation of the crotch piece while the putty was still flexible, taking into account the restricted space left between the legs and the cape. This step had to be carried out while the putty was still malleable, since it would not have been possible once hardened. Before going any further, I waited for about an hour to allow the putty to become rock solid.

Thanks to this simple but essential pinning technique, it's possible to create more flexible silhouettes. In this particular case, I was able to free enough space around the waistband to add details later. Most importantly, the method allowed me to manage and tweak the orientation of the legs with ease, without altering the inclination and direction of the torso. This is fundamental in creating custom characters with dynamic and unique poses.

Arms and weapons

Once the putty was dry, I could start attaching the arms. In this section, I will be using the same pinning technique to connect these elements to the character's body. Again, this will allow me to achieve a specific orientation, which would not have been otherwise possible. In addition, I will give a quick overview of how I modified the hand gun to make it unique and more visually interesting. So, without further ado, let's give our poor fellow some arms!

Arm pinning

I wanted the left arm to be positioned in a certain way so, just like in the previous step, I proceeded to drill two holes—one into the body and another into the arm. Both bits were pinned together with copper wire. I then bent the support wire to match the desired orientation and sealed it off on both ends with super-glue. As we did earlier, the gap was filled with epoxy putty and smoothed out with water. I let the putty cure for 45 minutes.

Weapon customization

In the meantime, I took a moment to glue a backpack on the character's back and then I started working on the remaining arm. This one did not require any specific adjustment and could be glued as is, however, I decided to give a little more flair to the weapon. After a quick test to ensure the arm would fit properly on the main body (check twice, glue once), I began customizing the handgun by drilling the tip of the gun barrel with my pin vise.

I then cut a small piece of brass rod (1 mm of external diameter) with a razor saw and slid it into the hole I had just drilled. As I explained in my guide to kitbashing equipment, these metal rods are excellent for making quick modifications and extending canons on firearms. Lastly, I cut a piece of styrene tube with an inside diameter equal to the brass rod's external diameter and glued it at the tip to make it look as if the gun had a silencer.

Details

The last stage of the process involved adding some extra details to better the character's visual appeal and tidying up parts in need of a little improving. This step not only enhances the appearance of the model but can also help to conceal any imperfections or balance specific areas. It involves sourcing additional parts that are compatible with your build, so I recommend experimenting and trying different options with reusable putty before gluing.

Head raising

To maintain the consistency of our custom silhouette, I made a slight adjustment to the head. Firstly, I added more epoxy putty to the head's location and marked its position while the putty was still malleable to ensure a perfect fit. To prevent the putty from sticking to your tools and plastic bits, you can moisten it with water. After the putty hardened, I glued the head in place with super-glue. Additionally, I added a shoulder pad to the left arm.

Gluing accessories

I was finally able to add the remaining details. I glued a tabard around his waist to give the build more verticality and to hide my rough sculpting work. I then added a shoulder pad on the right arm and two flying fins on the backpack to enhance the overall silhouette. I also hooked grenades to his belt and chest. Finally, I added wires connecting the armor to the backpack and a small magazine falling off the handgun to make things even more dynamic.

Additional details are added to hide imperfections and create points of interest

Adding rivets

For added visual interest, I drilled a few holes in his chest to insert rivets I made earlier using Milliput and a silicone mold designed for this purpose. Alternatively, you can use small flat-bottomed pearls or metal beads, which can be found for cheap online or in jewelry haberdashers. Once again, I used super-glue and a toothpick to apply a small amount. I also added rivets in other areas, noticeably the foot joints and the handgun.

Clean-up and basing

Next, I quickly refined the junctions where sculpting was involved. To do this I highly recommend using liquid putty and applying it with a brush. This product has self-leveling proprieties which is great to fill in small gaps and smooth out surfaces. It has become my go-to product to address and remove unwanted textures from rough sculpt jobs. If you're messy like me, you can easily remove any excess with a clean brush or a cotton swab.

At this stage, I was pretty much done but after some consideration, I felt like the canon of the heavy weapon was too short. So I went back and decided to elongate it in the same way as the other weapon. I then randomly scattered and glued empty bullet shells on the ground to give a little more visual interest to the base. To create the empty cartridges, I used the same piece of brass rod again and empty shells were cut to size with a razor saw.

Parting thoughts

And there you have it, a quick and easy method to kitbash simple yet unique characters for your next Kill Team. I hope the format and content of this article has given you some insight and inspired you to try it for yourself. As always, practice makes perfect, although the techniques covered in this guide are accessible to all. Soon I will be taking a closer look at sourcing bits and figuring out how to match them together, so make sure to stick around.

If you have enjoyed this tutorial and haven't joined yet, I encourage you to subscribe for free to share your thoughts in the comments section below and stay informed about my next publications. A paid subscription is also available for those who find my work valuable and want to help me create more content like this in exchange of exclusive posts and downloadable PDF versions of my guides. Thanks for reading, happy kitbashing everyone!